The Projective Plane
Again, read the link for information on what a projective plane is. There are cool things you can ponder about it. It's topologically equivalent to taking a disc of fabric and sewing each point to the one diametrically opposite it. This sounds simple, until you think about it... and then you see why it needs more than three dimensions to work. Like the Klein Bottle, it has only one side and no edges (closed and non-orientable), and so encloses no volume. Since it has only one side, you can just as easily say that everything in the world is inside it. It's been called "Fortunatus' Purse" for that reason, since it contains all the world's wealth. So yes, I have you inside my little knitted projects!
One immersion I've knitted (so far) is the crosscap, since it seemed simplest. I'd really like to try Boy's Surface, but that seems mighty complicated. Now, a crosscap, being a closed non-orientable surface, can't be embedded in three-space, but only immersed, so it needs to have some self-intersection. This causes a problem in most cases, but there's an interesting twist when you're knitting. We conventionally like to consider fabric as simple surfaces, even though of course they have a very complicated low-level structure. I bet nobody complained when I talked about Möbius strips made of fabric, even though of course it has all kinds of holes and thickness and whatever else. This is true of all real-world surfaces: even paper has roughness and thickness, etc. But we gloss over those things, taking the piece of fabric as an approximation to the surface and considering sufficiently small imperfections to be negligable. That's fair enough and makes eminent sense, and helps us make models that actually help us. But with fabric we can take advantage of that simplification. After all, even if we consider knitted fabric with all its holes to be a smooth continuous surface, it really does have holes and really is made of little strings. So it really can pass through itself, with those strings passing through the holes, which aren't really any bigger than the ones we're already ignoring. We can get self-intersection that really is "true," in a certain sense, with stitches interpenetrating. So we can make real crosscaps and Klein bottles, not ones with discs taken out or anything. All of which is actually pretty cool, when you think about it.
So how do you make a cross-cap? Not really all that difficult. Picture a square pouch, made by making two knitted squares and sewing up along the edges. To make a cross-cap from that, imagin snipping a slit from the middle of the top edge to the center of the square. Then you sew up the cut edges, with the front edge joining with the back one and vice-versa. So we just have to knit that (without the cutting and rejoining, though).
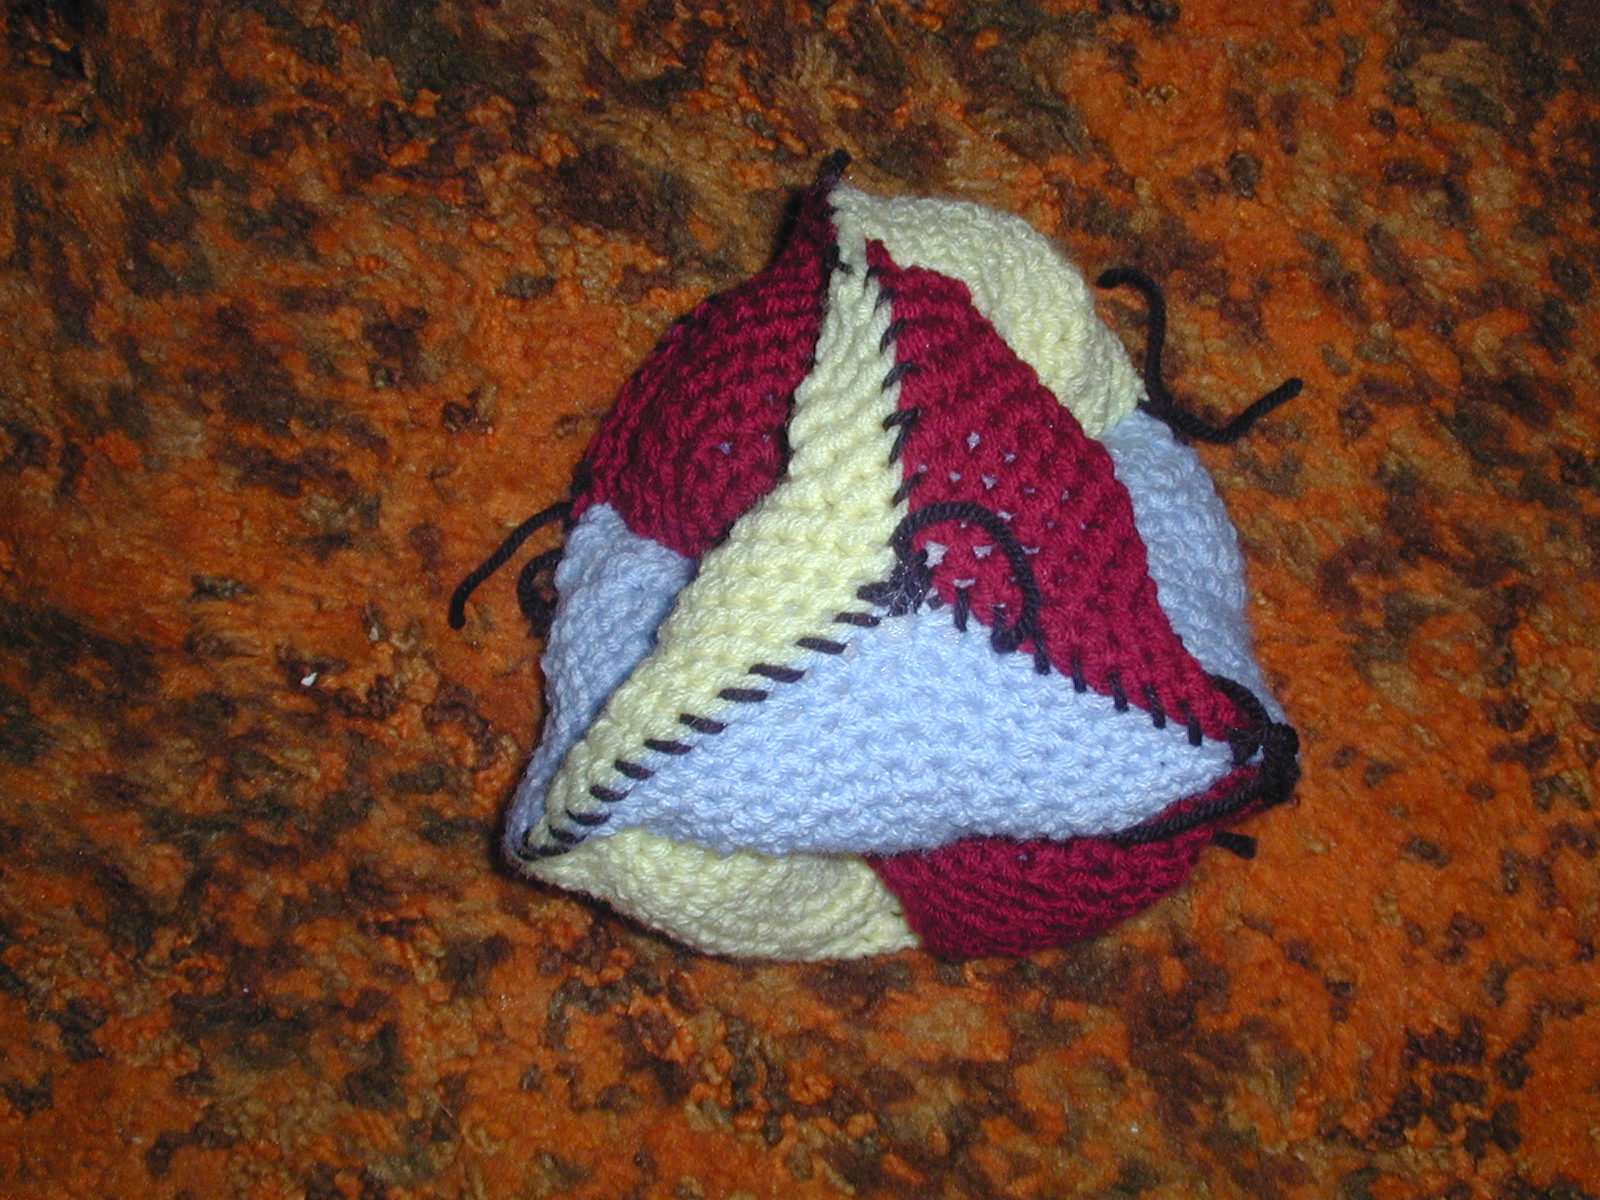
![[Knitted projective plane. Select for larger picture.]](pics/purseflat.jpg)
|
|
Here's a view of the projective plane. It's stuffed a little so it doesn't just look like a flat square. You can't see the "sides" very well, but you can make them out. Just remember, the blue fabric is continuous: it's one piece. Same for the black fabric. There only seams are around the edges. |
So, you start making the two squares: cast on N stitches onto each of two needles and knit them up separately about halfway (remember, the self-intersection doesn't start until halfway up the square). Make them the same length, of course. I make them different colors so you can see the intersection better. Then the fun begins! Make sure the parity works out; I use an even number for N (so the seed stitch matches right) and make sure both faces are on the same-parity row (if not actually the same numbered row) when intersecting. Then, knit N/2 stitches from each needle, and get ready to do some self-intersection. Essentially, you knit N/2 stitches from one needle and then finish up the row (with the same yarn) on the other needle. Then do the same with the other two half-needles. You'll wind up with the first needle sort of underneath the second, since you'll have to knit over it. Get used to that. From here on in it's easier: just knit each needle in turn, always working with the one currently "buried" under the other. Knit N/2 stitches (count them! Sometimes they pull through a little. It's important to keep the right number! So you should be sure that N is an even number), then you'll be up against the already-knitted fabric. Pull the needle you're knitting off of out the fabric, out from under the other one, and hold it over the other one and continue knitting above. If you use different colors for the two squares, when you're done one-quarter of each side will have the other color (like the canton of a flag). Just keep doing that as far as you like; I tend to like about half the length of the cross-cap to be intersection and half without; obviously topology makes no such demands.
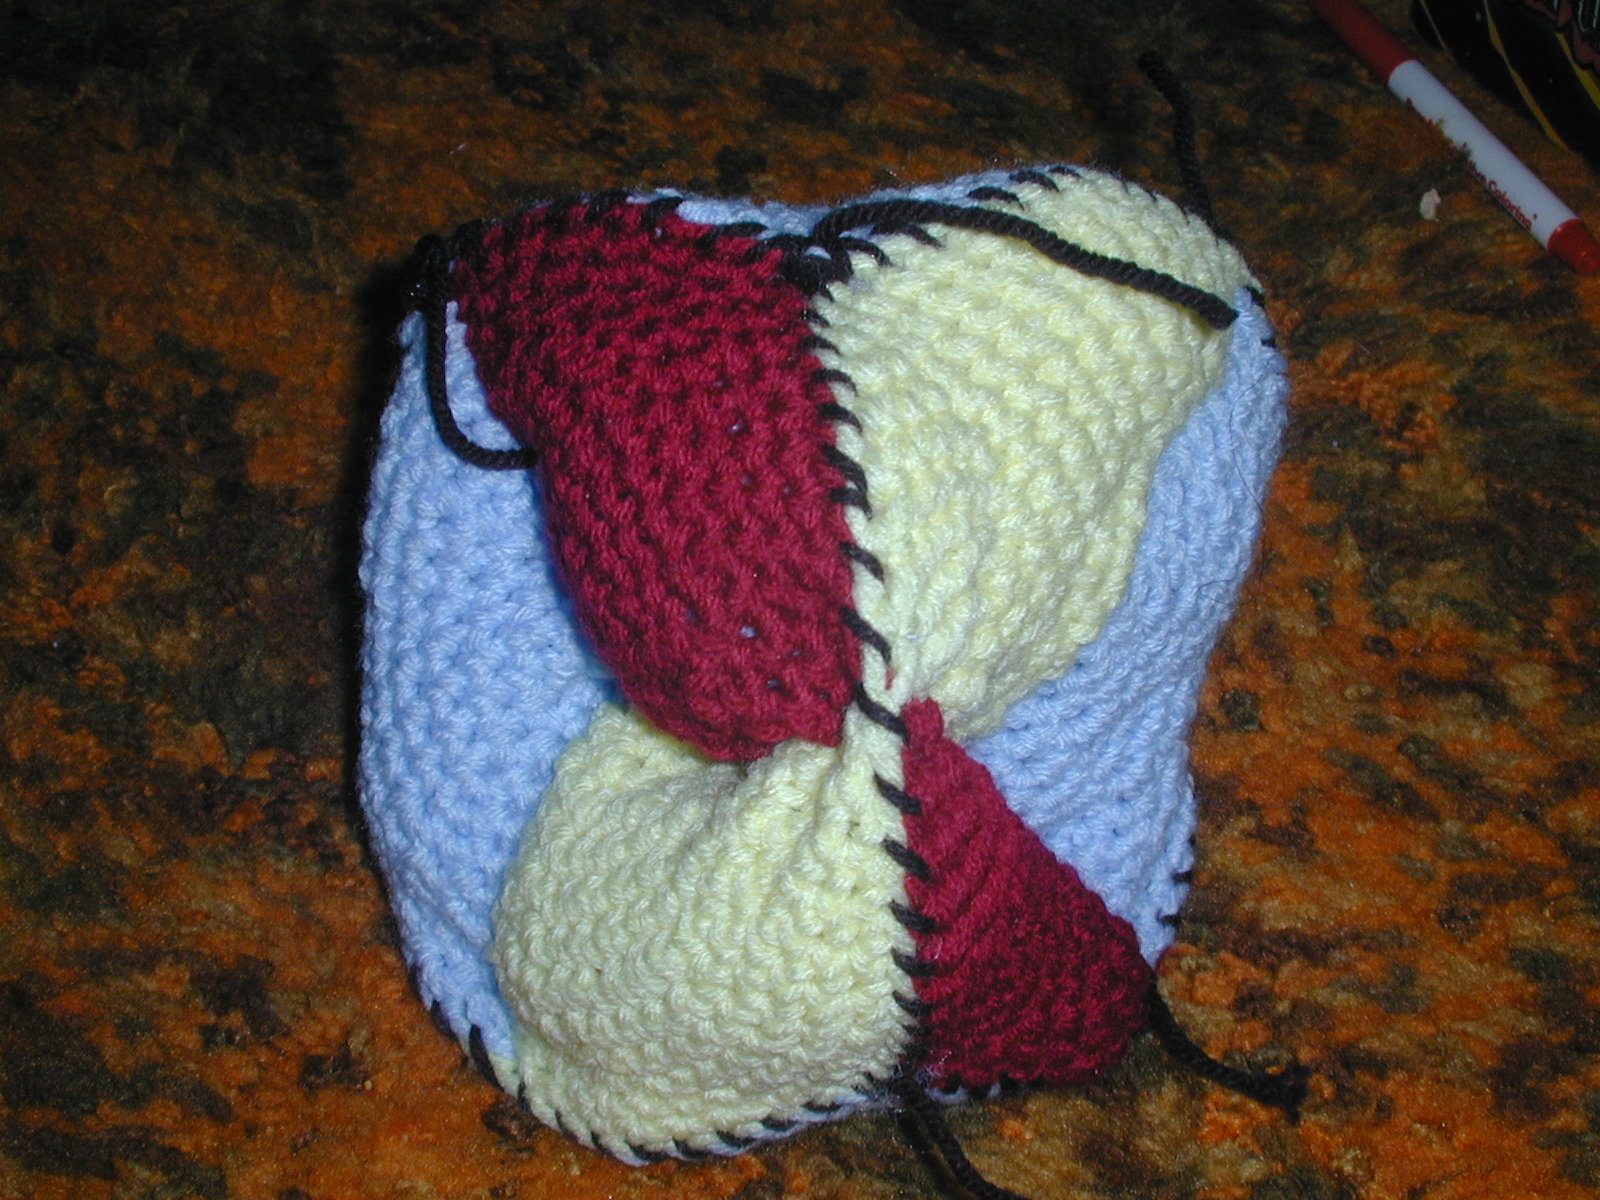
![[Another picture of the purse. Select for larger version]](pics/pursestand.jpg)
|
|
Another view of the same piece, this time with it standing up, the Whitney point toward the camera. You can see how the pieces work together a little better in this one. |
To finish up, you need to close up the top (including the Whitney singularity where the line of self-intersection meets the end of the fabric). Rather than binding off, my mother suggested I just run a length of yarn through the loops at the top, alternating needles. It works quite well, and gives a smoother end. Then weave the ends of the yarn into the fabric. Then sew up the edges normally, and the bottom if you want (though it makes it hard to enjoy it if you do). I plan to close up the bottoms of mine with a zipper, but I haven't yet gotten around to it. It's quite cool enough without it. What's more, you can actually use it to hold things (like a purse with two pockets).
I've also made a version with no seams except at the top: just use double-pointed needles to go around and around instead of knitting each side separately. You'll need five needles (I think), which I'll grant is a little strange. I'll see if I can find it and get a picture.
Roman Surface
This is new (after literally years of languishing half-finished): another projective-plane immersion. Take a look at it on MathWorld. The Roman Surface has six pinch-point singularities at the endpoints of three lines of intersection, which all meet at a triple-point in the middle. It's actually not particularly difficult to crochet, if you come at it from the right frame of mind. Think of it as three mutually orthogonal discs, meeting at the origin (a disc in the xy-plane, a disc in the xz-plane, and a disc in the yz-plane), with lines of intersection at the axes, of course. Then you just have to "close up" the quadrants, forming sort of triangles. And the trick is, you close them up oppositely on either side of each plane. Which is easier than it sounds. What I mean is, you would sew together the edges in +x, +y, and +z to make one triangle, and -x, -y and +z to make another triangle. On the other side of the z-axis, it goes the other way: -x, +y and -z make one triangle and +x, -y, and -z make the other. And even that sounds more complicated than it is.
![[Knitted projective plane. Select for larger picture.]](pics/Roman1.jpg)
|
|
Here's a view of the Roman surface; select the picture for a (much) larger view. The three discs are in contrasting colors (red, blue, yellow), whipstitched together with black yarn. Here's a view from another angle. And here's another. |
So just crochet up three intersecting discs. Simple enough, right? OK, maybe not, to start with. I worked from the center out. So I made three small circles, the centers of my disks, which would be as close as I'd be crocheting to the triple-point. You can arrange these in the proper intersecting arrangement without too much trouble, though they won't stay in place by themselves at first. Crochet around one of them, single-stitches but increasing about six times in one round, trapping the other two rings in the "right" places (where they should intersect, at roughly 90° intervals) in the stiches as you go. When you've done one round, stop, and do a round on one of the other two rings. Then stop and do a round on the third ring. And so on, so each ring grows only one row at a time, thus keeping the intersection even, with alternating rows. You'll need to increase about six times per round (spaced around) to keep the discs approximately flat (I've never been really good at that). Then it's just a matter of deciding when to stop. At some point I decided I was going to make it really big, so it would be easy to inspect and study. And then when I got it out of mothballs, I realized that the bigger I made it the twistier and uglier it was getting, due to waviness and curvature introduced by imperfect increasing. So I was best off just stopping where I was.
I'm pretty sure I can knit one too, basically doing the "figure eight" trick like I did on the Klein Bottle and then self-intersectingly switching to the complementary figure-eight.